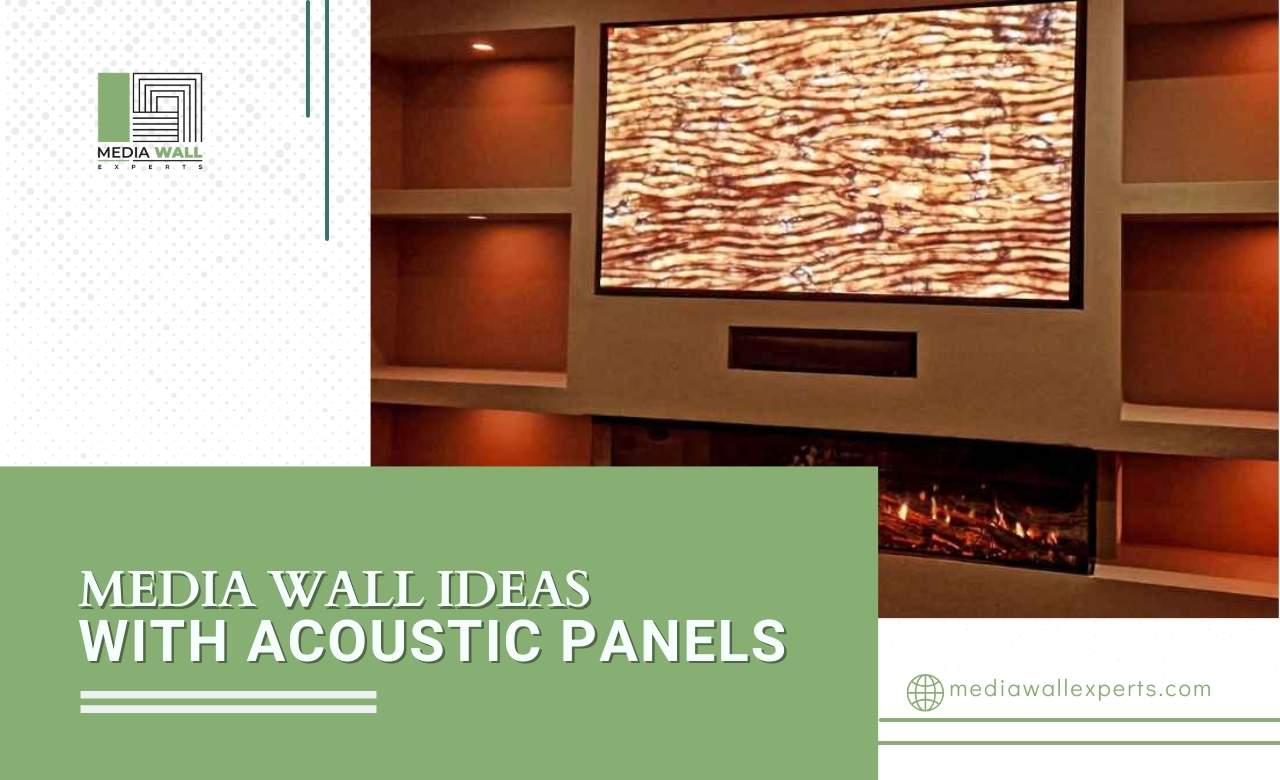
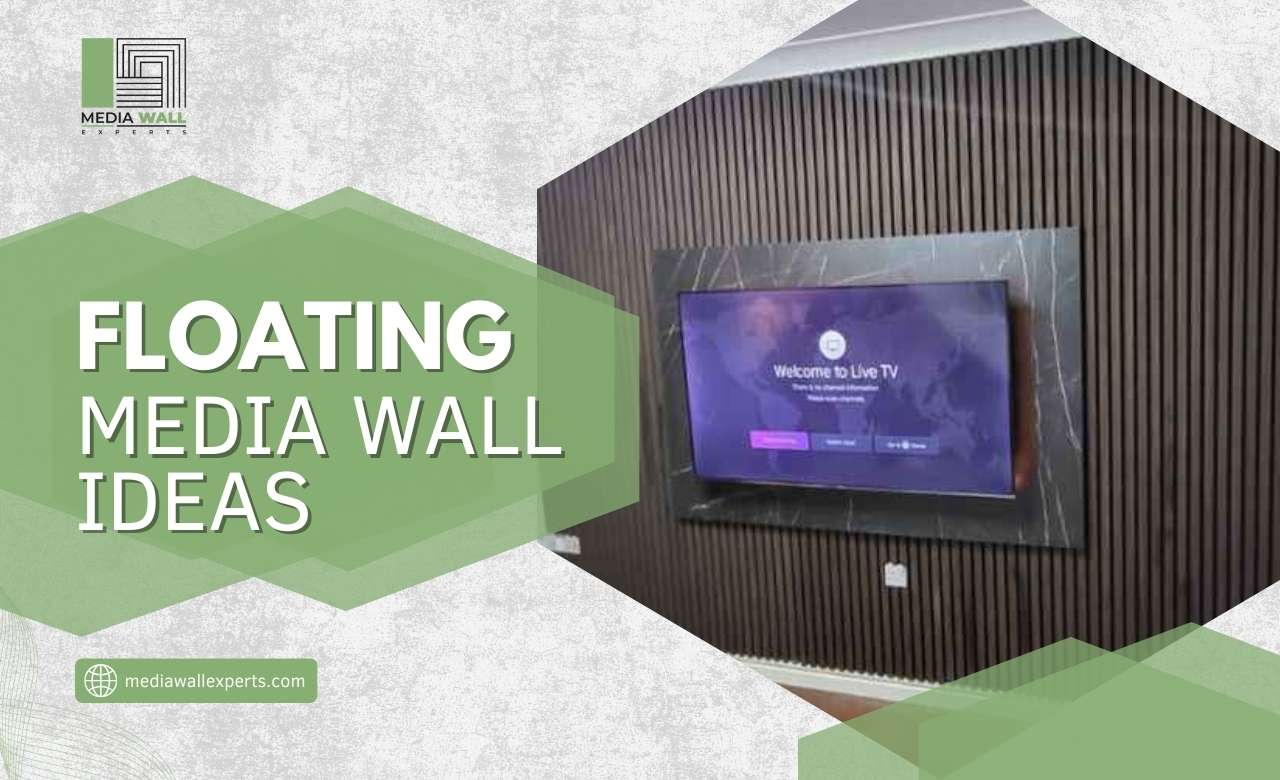
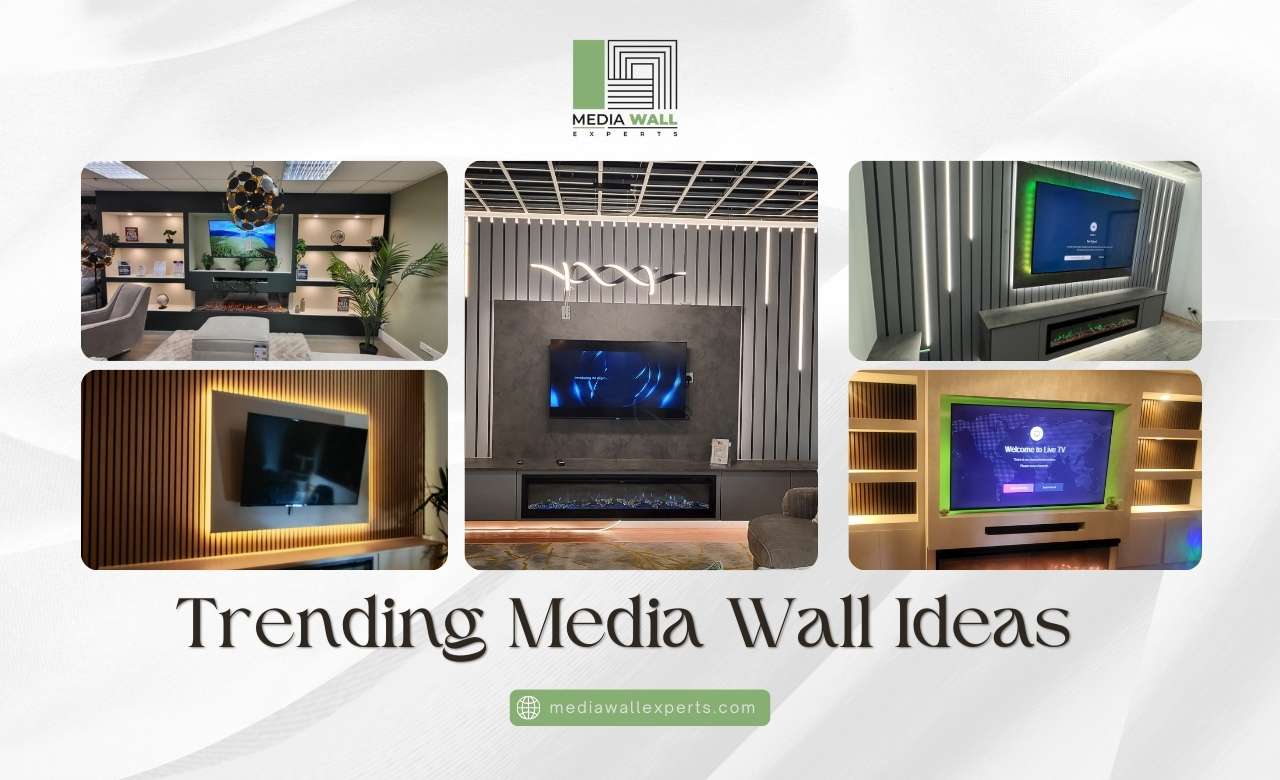

A media wall has become one of the most popular features in modern homes. It brings together your TV, storage, lighting, and decorative elements into one clean and organised wall. A well-planned media wall can improve the look of your living room, reduce clutter, and create a strong visual focal point that feels modern and practical.
Media Wall Experts provide the Best professional consultation in Brigham & Manchester, UK and nearby areas and guidance for media wall projects, helping homeowners across the UK plan designs that look stylish, functional, and well-balanced.
Below are complete, easy-to-follow steps that explain how to build a media wall:
1. Plan the Purpose of Your Media Wall
Start by deciding what you want your media wall to include. Some people only want a TV wall, while others prefer a media wall with shelves, cabinets, lighting, or a fireplace.
Think about how the room will be used, how much storage you need, and how the media wall should fit with your furniture and layout.
2. Choose the Right Wall and Measure the Space
Pick a wall that is visible and central in your living room. Measure the height, width, and depth carefully so the TV and other elements fit comfortably without overwhelming the space.
Good measurements help ensure the media wall feels balanced and does not block walkways, windows, or natural light.
3. Decide the TV Position and Viewing Height
The TV should be placed at a comfortable viewing height, usually at eye level when seated. Avoid placing it too high, as this can cause discomfort during long viewing sessions.
Plan enough space around the TV for framing panels, shelves, or lighting so it looks integrated rather than simply mounted on the wall.
- Keeps viewing comfortable during long screen time.
- Reduces neck and eye strain.
- Helps the TV feel naturally positioned within the wall.
- Allows space for design elements like panels and lighting.
- Supports a balanced and visually organised layout.
4. Design Storage and Shelving Layout
Decide if you want open shelves, closed cabinets, or a mix of both. Open shelves are ideal for décor and books, while closed cabinets help hide cables, remotes, and devices.
A balanced layout keeps the wall organised and prevents it from feeling cluttered. It also helps maintain a clean visual flow, makes storage more practical, and ensures the media wall feels structured rather than busy.
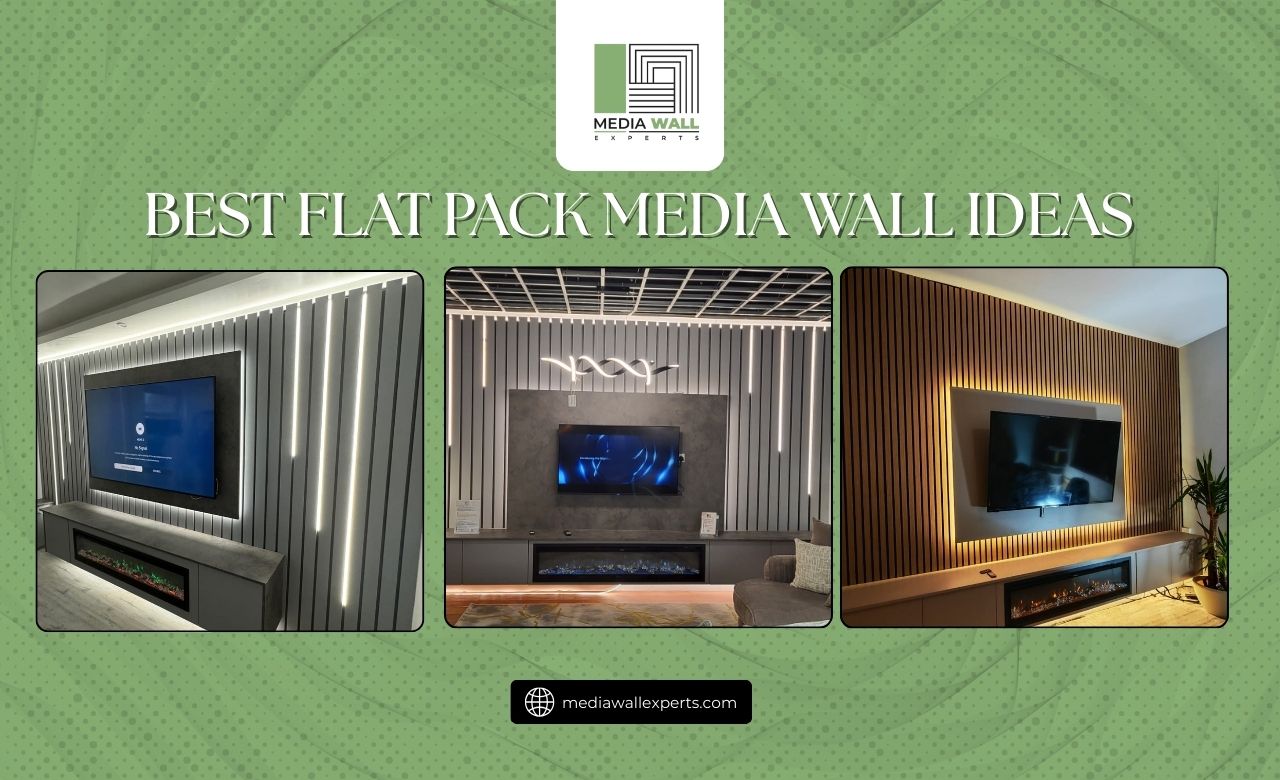
5. Select Suitable Materials and Finishes
Common materials include MDF panels, wood slats, stone-effect boards, marble-style panels, and painted surfaces. Choose finishes that match your room’s colour scheme and furniture.
Neutral tones create a calm and modern look, while darker shades add a bold and dramatic feel. Matte finishes often give a soft and elegant appearance, while gloss finishes can reflect light and make the wall feel more eye-catching.
It’s also helpful to think about long-term maintenance. Durable finishes that resist scratches, dust, and fading can keep the media wall looking fresh and well-kept over time.
6. Plan Lighting for Visual Effect
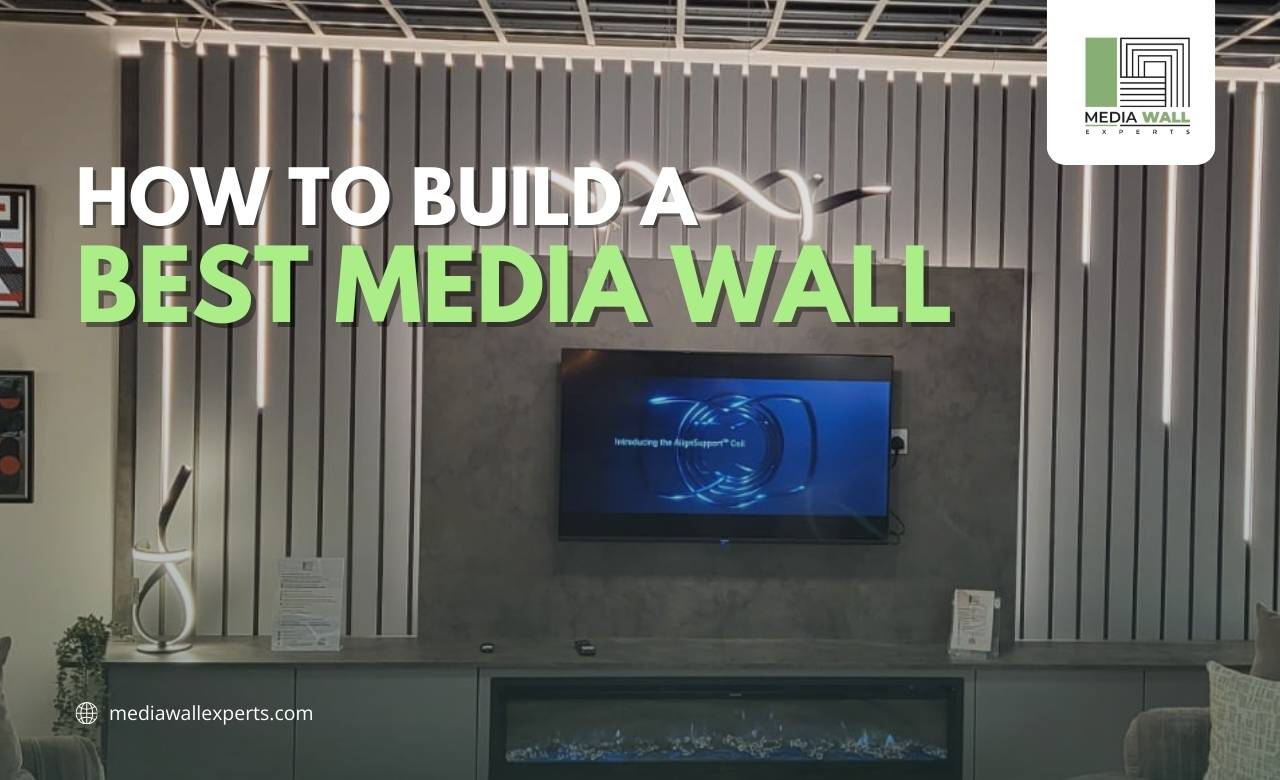
Lighting plays a key role in a media wall. LED strips, backlighting behind the TV, shelf lighting, and accent lights can add depth and improve the overall appearance.
Soft lighting also helps reduce eye strain and creates a more comfortable viewing environment. Warm white lighting works well in living rooms, while dimmable lights allow you to adjust brightness based on mood and time of day.
Thoughtful lighting placement can highlight textures, shelves, and panels, making the media wall feel more refined and visually balanced.
7. Plan Lighting for Visual Effect
Lighting plays a key role in a media wall. LED strips, backlighting behind the TV, shelf lighting, and accent lights can add depth and improve the overall appearance. Soft lighting also helps reduce eye strain and creates a more comfortable viewing environment.
7. Manage Cables and Power Points
Plan where power sockets, HDMI cables, and sound system wires will run. Concealing cables inside the wall or trunking keeps the design clean and avoids visible clutter.
Safe electrical planning is important, so professional help is recommended when working with wiring. Proper installation reduces safety risks, ensures compliance with UK electrical standards, and helps prevent future issues such as loose connections, overheating, or power faults.
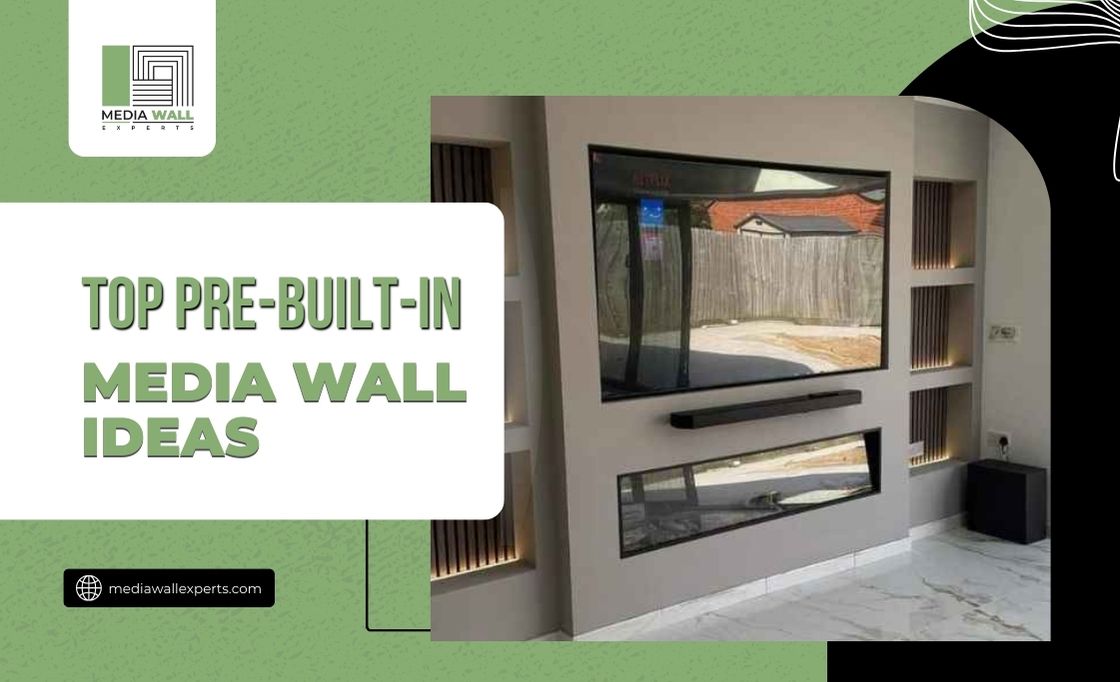
8. Consider Adding a Fireplace Feature
Many homeowners choose to include an electric fireplace beneath the TV. This adds visual interest and creates a cosy focal point within the media wall.
If adding a fireplace, ensure there is enough spacing between the TV and the heat source for safety and comfort.
- Creates a strong focal point in the living room.
- Adds a sense of comfort and visual appeal.
- Works well with both modern and classic media wall designs.
- Improves the overall atmosphere of the space.
9. Build the Wall Frame and Structure
The frame is usually built using timber or metal studs, followed by plasterboard or wall panels. This structure holds the TV, shelves, and other features in place.
Accurate alignment and strong support are important so the media wall remains sturdy and long-lasting.
10. Apply Panels, Paint, and Decorative Finishes
Once the structure is complete, apply decorative panels, paint, or textured finishes. This step gives the media wall its final appearance and ties it into the rest of the room. Subtle textures and clean lines help the wall look modern and well-finished.
11. Install the TV, Shelves, and Accessories
Mount the TV securely, install shelves and cabinets, and arrange décor items in a balanced way. Avoid overcrowding shelves to keep the wall looking clean and organised.
Simple styling often looks more refined than overly busy decoration. Choosing a limited number of decorative items, matching colour tones, and keeping spacing even can make the wall feel more polished and intentional.
Taking time during this stage ensures the final result looks well-finished and visually pleasing.
12. Test Lighting and Final Adjustments
Turn on lighting, check cable connections, and make small adjustments to ensure everything looks aligned and works properly. This final step ensures the media wall looks polished and complete.
- Check that the lighting brightness feels comfortable.
- Confirm cables are hidden and neatly managed.
- Ensure shelves and panels are level and secure.
- Test TV positioning for comfortable viewing.
Professional Guidance for Media Wall Projects
Building a media wall involves planning, design decisions, electrical work, and finishing details. Getting expert advice can help avoid costly mistakes and ensure the final result looks well-planned and visually impressive.
For expert consultation and professional support with media wall projects, contact Media Wall Experts. Their team offers guidance on layout, design, and finishing ideas to help you achieve a modern and well-structured media wall.
If you’re planning to build a media wall and want reliable professional assistance, Get in Touch with Media Wall Experts for Consultation and support. Their experience can help you create a media wall that looks modern, organised, and built to last.
